
This tutorial takes you from an empty project to a shared, exported plan. The core path takes about 15 minutes; optional steps show the full test-fit workflow: program import, standards from Revit, layout suggestions, and design options.
Working time for a real project: under an hour.
Prefer to watch? See the Fit Out Friday: Office with Standards session below.
1. Create a project
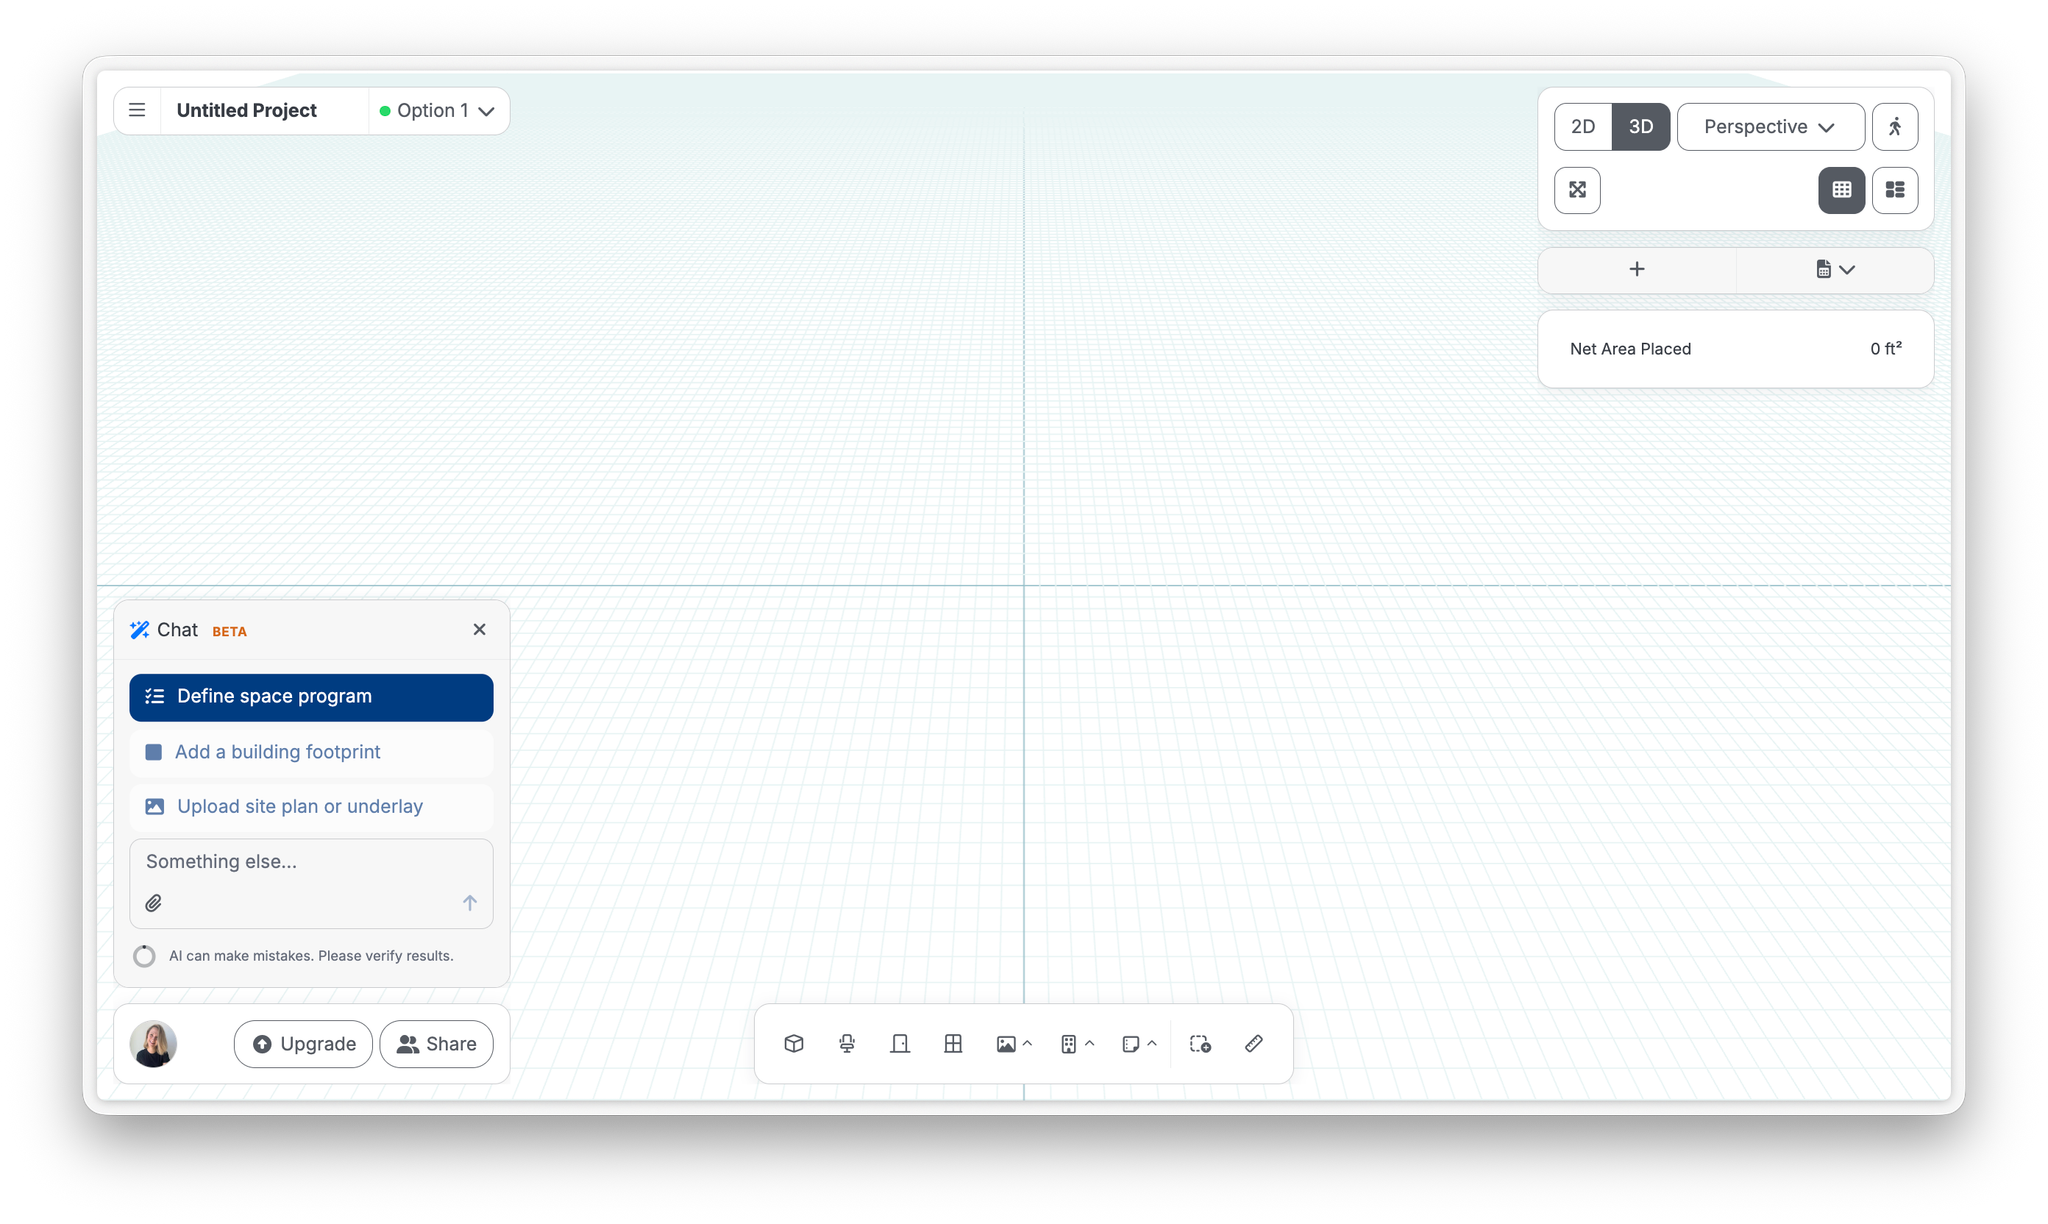
When you sign in, Hypar drops you straight into a new untitled project on an empty 3D canvas. Click the project name in the top-left to rename it. (To switch projects later: Main menu → Open project, or New project for another one.)
The chat panel opens with a few relevant starting points. You can begin with any of them, or follow the manual steps below.
2. Set up your program (optional)
Hypar helps you track your program in real time. Import a program spreadsheet (Import requirements in the program panel, or drag the file onto the canvas) and map the columns: name, count, areas, colors.
Add requirements manually with +. Program changed after a client meeting? You can always re-upload your program. Full detail: Set up program requirements.
3. Start from what you have (optional)
Drag a floor plan onto the canvas, PDF, image, or DXF/DWG. Vector PDFs and DXFs give you line snapping. Have room standards in Revit? Send them over with the add-in and save them to a library. See Start from an existing drawing and Work with Revit.
4. Place a building
- In the toolbar, open the Building group and choose Building.
- Once clicked, you'll see a preview building attached to your cursor with default dimensions. Nothing is placed yet.
- Click on the canvas to place the building. New buildings start with a single level but you can add additional levels through the building’s capsule menu.
- For structure, add grid lines, or lay a planning grid over your underlay and convert it, then let Hypar repeat one placed column across every intersection through AI suggestions.
5. Add spaces
- Click Space in the toolbar. A space preview attaches to your cursor with a default dimension and default walls.
- As you move the previewed space inside the building, Hypar shows live, blue dimensions to the building edges. Click to place.
- Use the live blue dimensions to change the location of your space.
- Stretch the edges of your space to change its dimensions. Double click or click “edit shape” in the space’s capsule menu to change its shape.
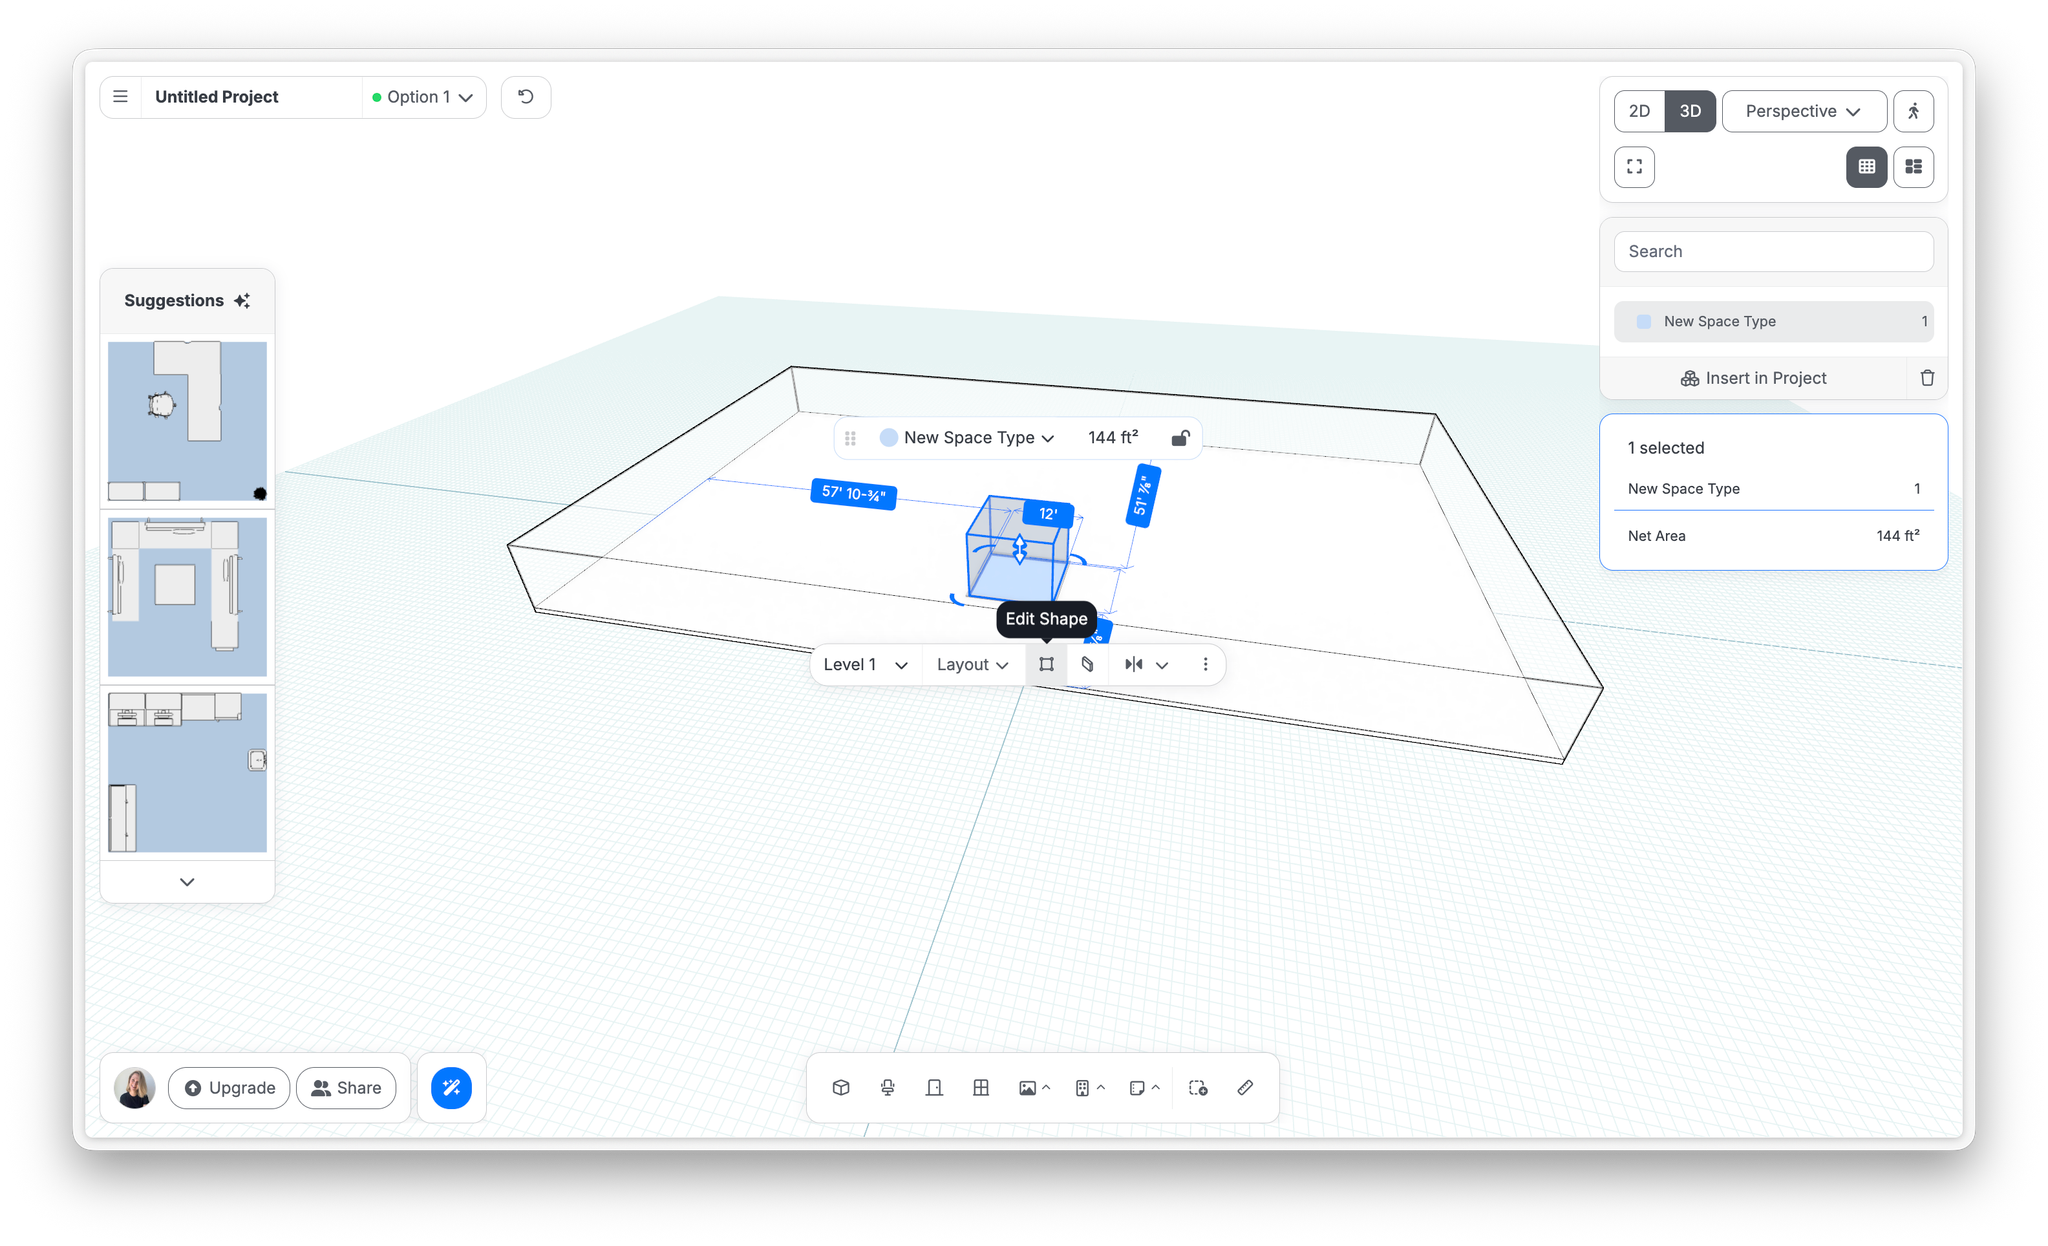
- Repeat or work from your program: drag requirements (Shift-select for several at once) from the panel straight onto the plan. They arrive with walls and locked areas; unlock to stretch freely. Hover a requirement to see where its spaces are placed.
6. Connect with circulation
In the Building group, choose Circulation and draw corridor paths connecting your spaces.
7. Furnish with suggestions
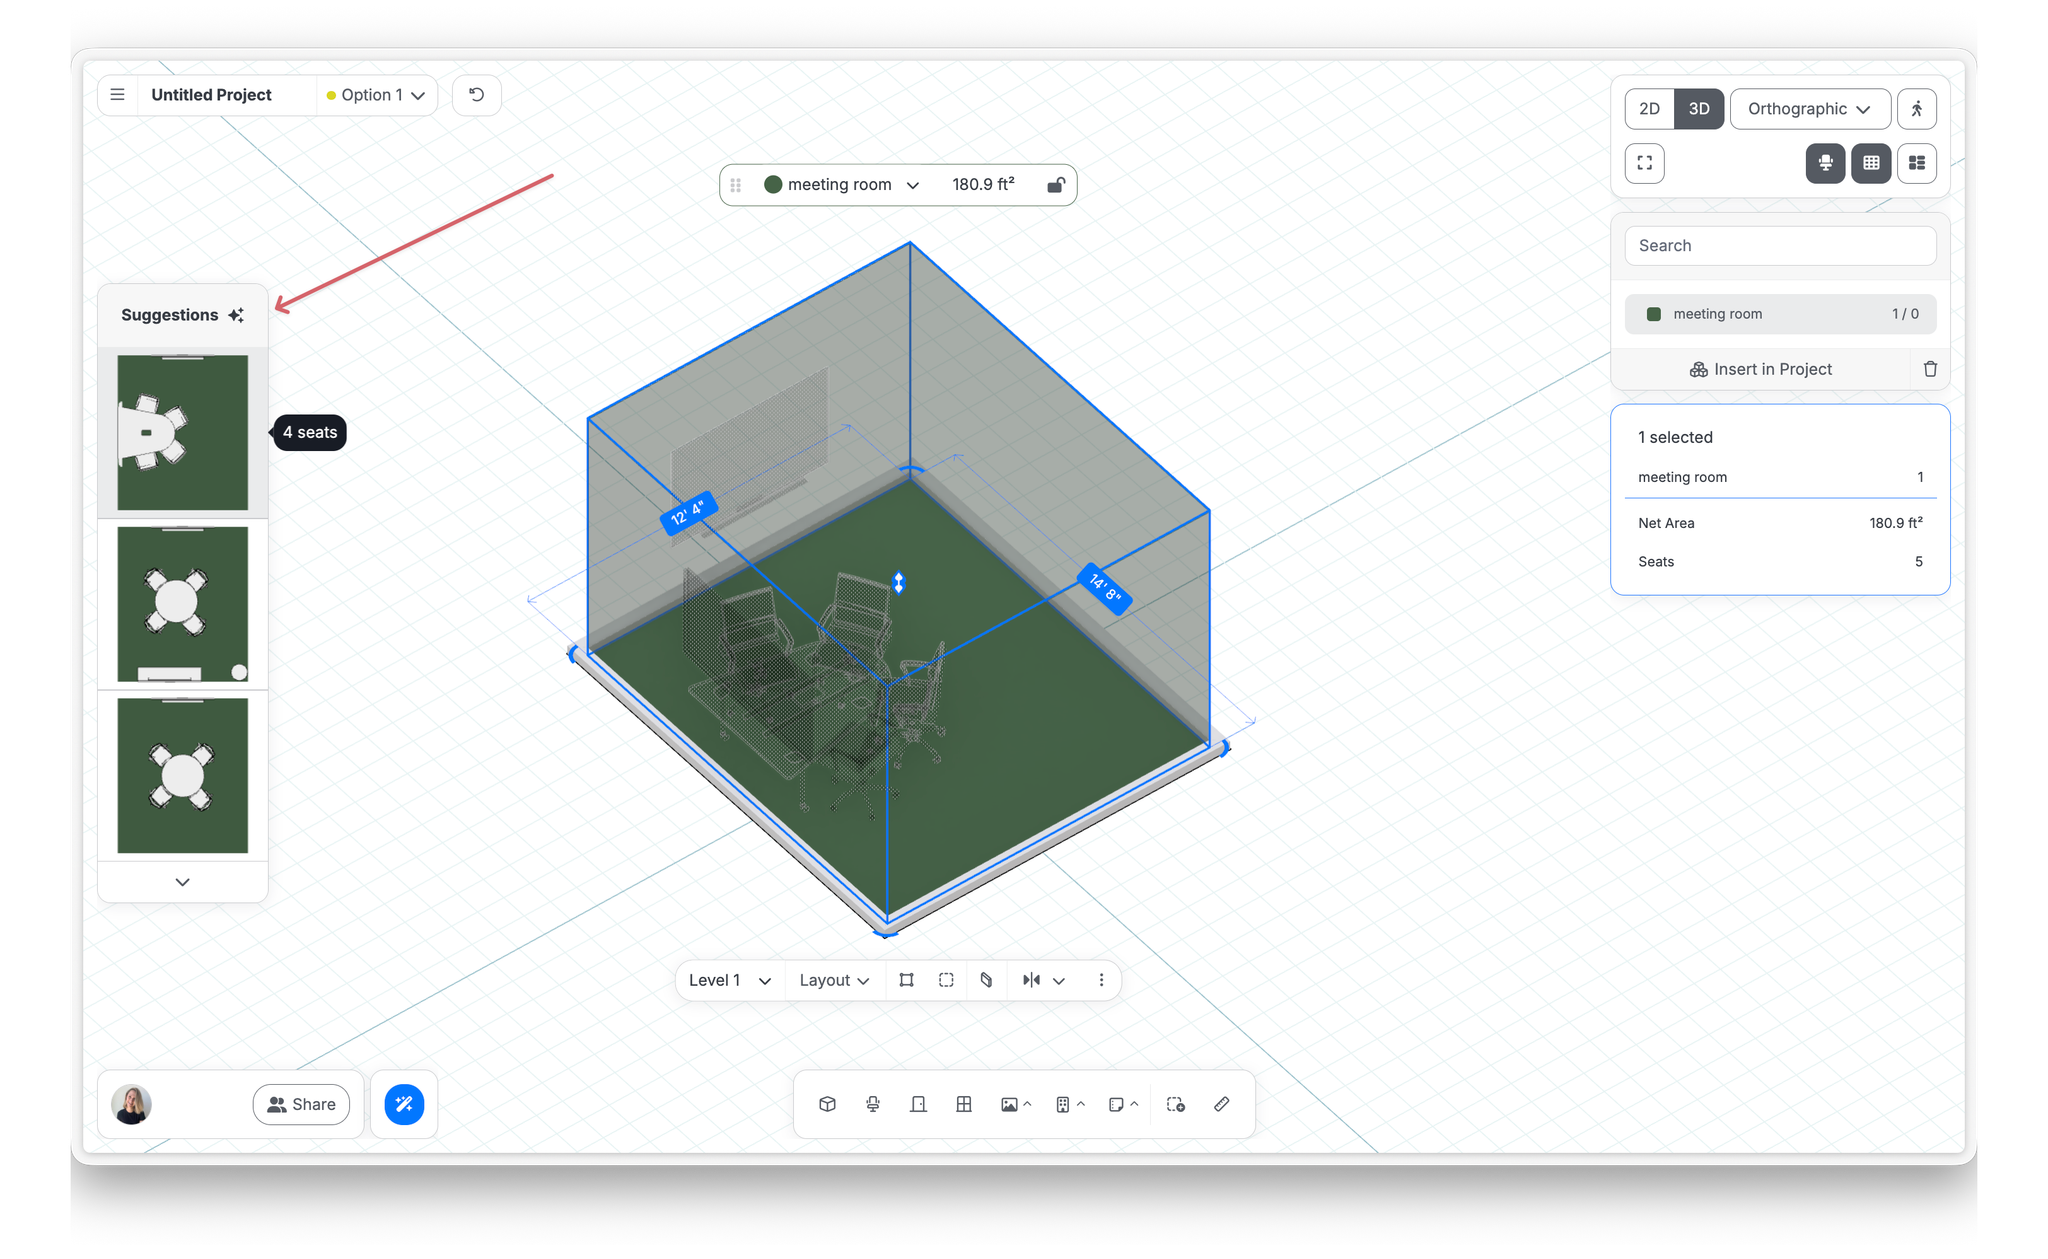
Select a space and flip through layout suggestions. Renaming a space ("Meeting," "Open Office," "Lounge") tailors what appears; layouts you tweak become new suggestions. For desks, accept a layout, then select all desks and set exact back-to-back and aisle spacing. More: Use AI features.
8. Watch your metrics
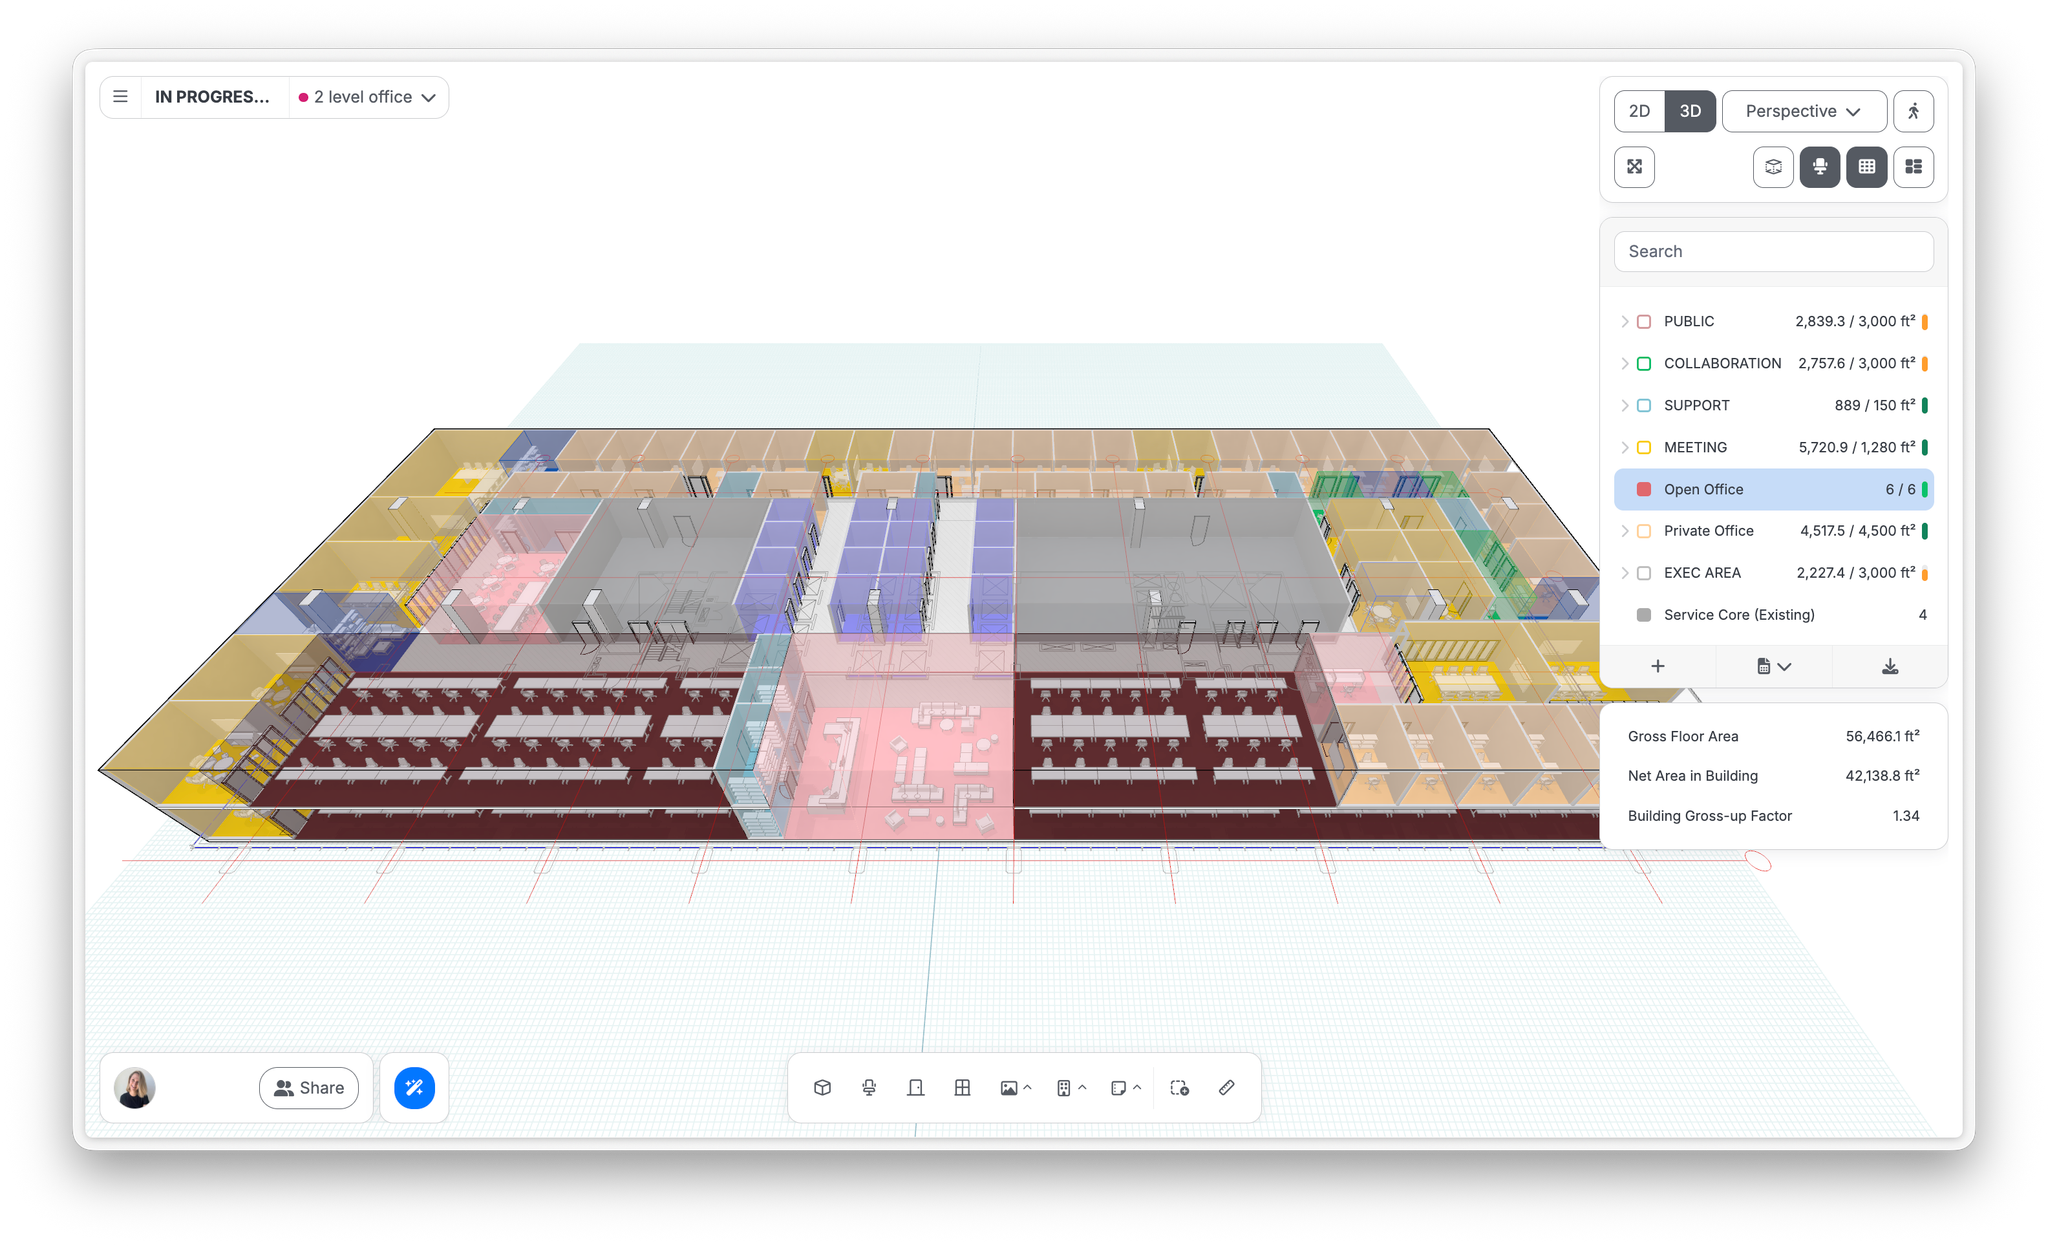
The metrics panel (top-right) tracks areas live as you plan: gross floor area, net area, gross-up factor, program breakdowns. Select elements to see metrics for just the selection, including counts such as desks, seats, and beds.
9. Refine
- Move and adjust: drag elements, or nudge with the arrow keys (hold Shift for larger steps). Press Space to rotate a selection.
- Doors and windows: place from the toolbar onto space boundaries.
- Furniture: click Furniture and Equipment to place components from the library.
- Undo anything with Ctrl/Cmd+Z, or use the undo/redo buttons in the top left.
- Doors snap to walls and follow their space; they turn red when something blocks the swing.
- Walls: set real thicknesses early. Areas are measured from the inside face of walls, so your numbers are accurate from day one.
- Switch to diagram mode for high-level client conversations. You can keep editing while in it.
10. Explore an option (optional)
Click + in the options menu to branch a copy of your layout and try a different scheme. Each option keeps its own metrics. Flip between them live in any view. See Explore design options.
11. Export and share
From the main menu, choose Export:
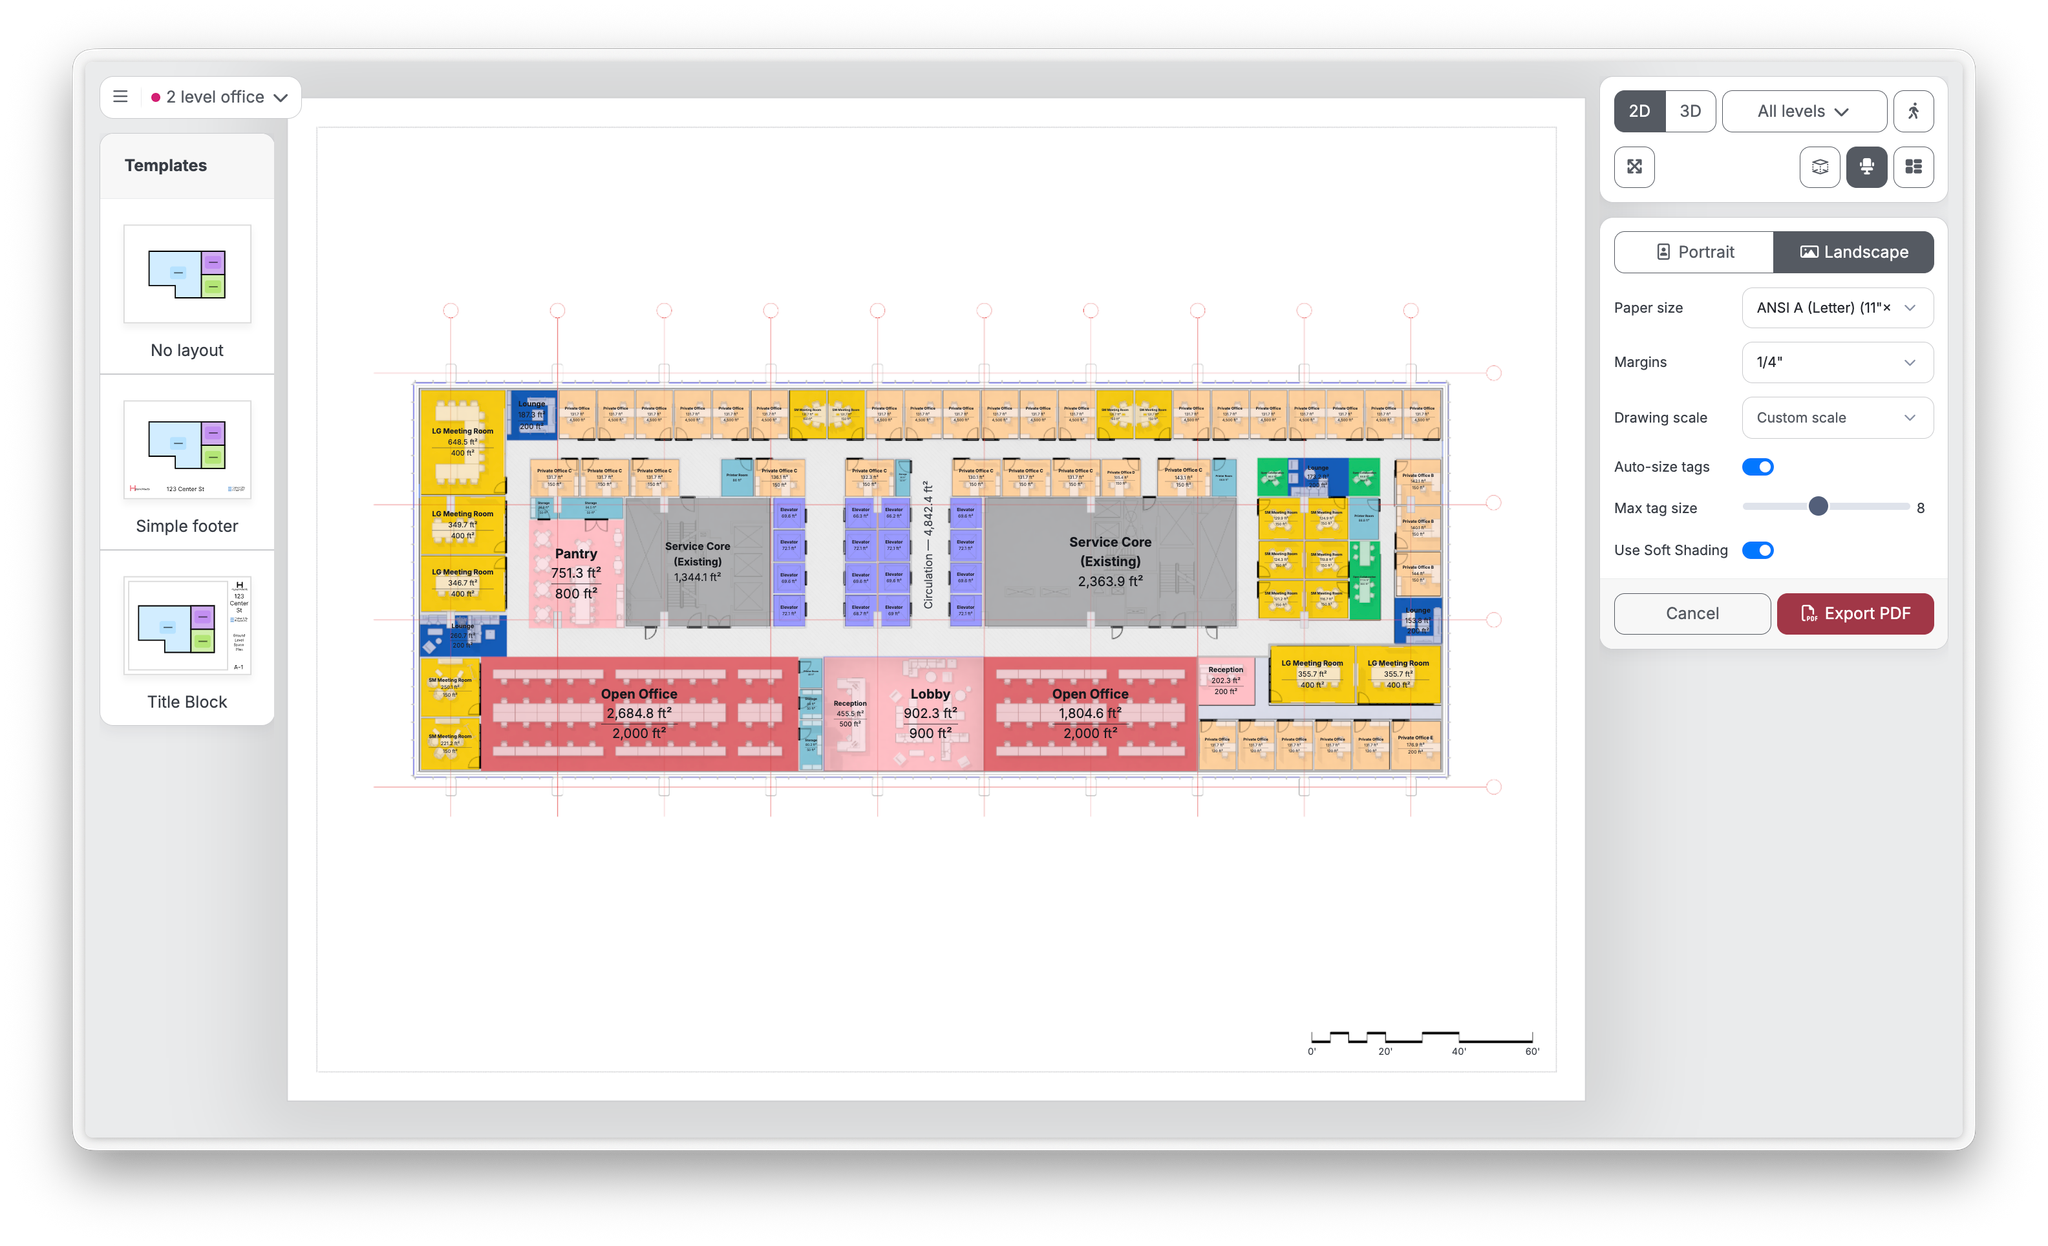
- Export PDF: scaled plans with paper size, margins, and tag options; export all levels and all options at once.
- Export image
- Export metrics to Excel
- Export to Revit: continue the project in Revit. See Work with Revit in Guides.
And click Share (bottom-left) to invite teammates or clients as viewers or editors. Collaboration is live, and collaborators can even work in different options at the same time.
Last verified against Hypar v0.2.019 (July 10, 2026).