
What are Spaces?
Spaces in Hypar are intelligent, customizable rooms made for space planning. They’re the building block of creating space plans in Hypar and represent different areas within your designs, allowing you to quickly navigate between space planning and room layouts.
Whether you need to quickly generate spaces or fine-tune their dimensions, Spaces provides you with the flexibility and control you need for your projects.

How to use Spaces in Hypar
Step 1: Set your Spaces in the Program Requirements view
When you set up your program in Hypar, you’ll be asked to tell us some key pieces of information about the Spaces in your project.
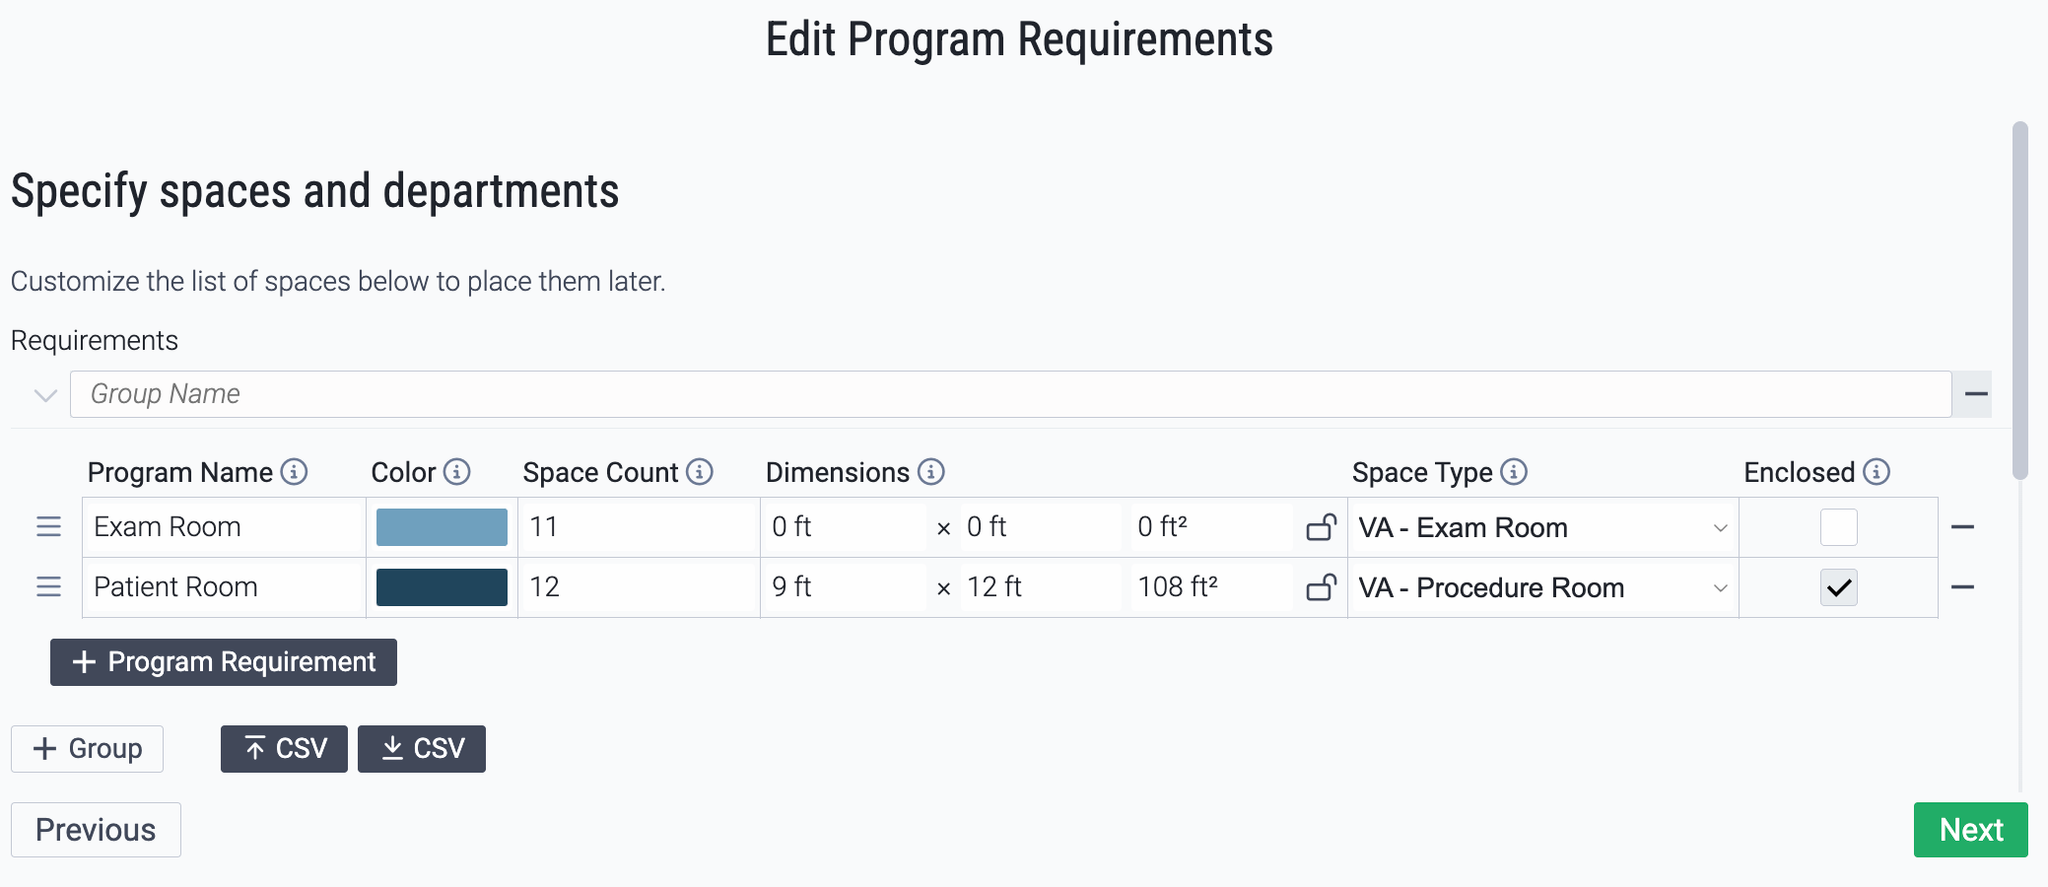
Here’s a primer on the fields in Program Requirements and what they do:
Program Name
Color
Space Count
Dimensions
Space Lock
Space Type
Enclosed
Step 2: Place Spaces in your model
To place Spaces in your model, click and drag the space to its desired location. This will create a space with the predefined size and Type you outlined in Step 1.
You can also click on a Space, which attaches it to your cursor. If no type or dimensions are provided for the Space, your active tool will be switched to the rectangle tool. You can then click a base point for the space and enter its width and depth, customizing it as needed.
When you place enough Spaces in your model, you’ll see a ✅. If you’re over count, you’ll see ⚠️.
Step 3: Adjust Spaces as needed
You might want to adjust the wall thickness or dimensions of your Spaces as you’re designing.
To adjust wall thickness:
Click on the space you want to edit inside the model view. Then, select the edge(s) you’d like to adjust. Input the desired wall alignment and thickness.
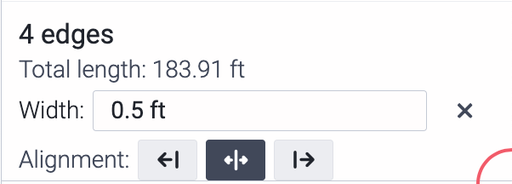
You can set the default wall thickness for all spaces by entering a wall thickness when no elements are selected. Hitting
x will reset your wall thickness to 0 for all selected edges.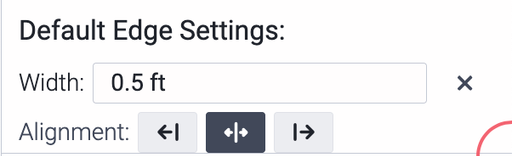
To adjust dimensions:
There are two ways to adjust dimensions:
- Select a Space within the model that you’d like to adjust. The dimensions of the Space will appear within the Space. Click on the dimensions to adjust on the fly!
- Select a Space within the model that you’d like to adjust. Drag any edge you’d like to move - edge drags are constrained to the prevailing axis of the Space, so you won’t accidentally get out of square when modifying your Space!
Step 4: Import your own Space types
If you have predefined space types in Revit that you'd like to import into Hypar, follow our Revit Import Guide for detailed instructions on how to seamlessly integrate your designs from Revit into the Hypar environment.